
In about 12 years, girls everywhere will be swooning over Prince George, the way my generation swooned over Prince William. Sure his hair line has receded quite a bit, but he's still a rather hansom chap if you ask me. Prince Harry of course has become the better looking one over time, but I remember my days of dreaming to be in the place where Kate is now. I bet their nursery looks beautiful with pieces picked out from all kinds of exotic places.
Though picking out nursery furniture has been described to me as being stressful. And I don't doubt it, I mean all those things are expensive and can really add up. I searched through some stores to see how much it would cost to set up a nursery and here I have provided one example of a lesser expensive store (Ikea) and a more average to expensive store (Sears)
If I go to Ikea and pick out average priced items, plus a can of paint, the average cost of a nursery would be roughly $800-$900.
If I went to Sears and picked out the same average priced items it would cost around $1500
Of course I'm not saying that everyone spends this amount of money on a nursery, but if you were to purchase all your basics brand new, these are roughly the costs.
This includes the following items:
- crib
- mattress
- sheets
- bumper pad
- change table
- mobile
- curtains
- glider/chair
- dresser
- change pad
- diaper pail
- rug
- some decor items such as pictures
I think we can agree that these items are the basics a parent would put in a nursery. I have put all those items in my nursery but I have thrifted/refurbished as much as I can ( though there were a one or two items that I bought brand new):
- crib- free
- mattress - $70
- sheets- $10
- bumper pad- $10- second hand
- change table- $50 and mine doubles as a dresser
- mobile-not there yet, plan to make one out of an embroidery hoop and some left over fabrics.
- curtains- $6
- glider/chair- $50 on reupholstering
- dresser...included in change table cost
- can of paint- $18
- change pad- $5
- rug- $25
- diaper pail- $8
- decor- $7
Total: $261
And here is what I ended up with:
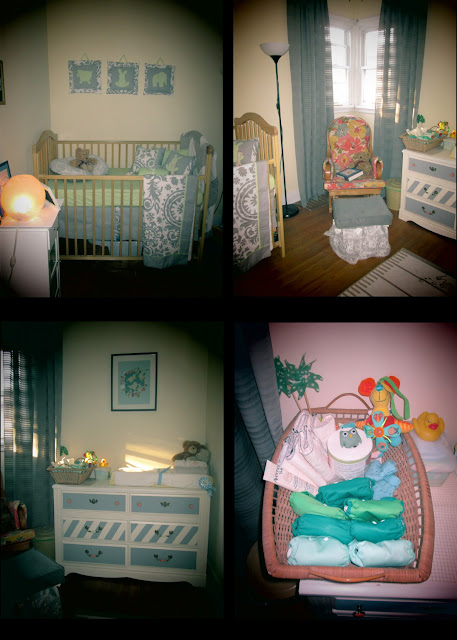
Let me tell you a bit about what is in each picture starting with the top left (yes I did just look at my hands to contemplate my lefts and rights)
Top Left:
The crib was free. A friend at work no longer required it, and gave it to me. Often you can find free cribs on Kijiji also. The bedding was a gift too, a very beautiful gift. I originally made my own bedding. The chevron quilt which hangs on the back of the crib and the dust ruffle which is now a ruffle on the bottom of my glider stool. The feeding pillow was purchased second hand and I sewed a new cover for it.
Top Right:
Curtains: I bought the fabric for these curtains at the Fabricland on Upper Ottawa st in Hamilton. The top floor is full of discount fabric, and I always tell people to get their fabrics there. I paid $3 per metre for that fabric and the hoops I had laying around the house ( they were a Value Village purchase from a while ago...I knew they would come in handy!)
The glider: This chair was left in my house when we purchased it just over a year ago. I thought it was an ugly chair. However, I made use of it by reupholstering it with a bright fabric to add a bright pop of colour to my nursery. The fabric once again, from Fabricland on Upper Ottawa, and cushioning which was the more expensive part, from the same street, different store. I feel like I could have done it cheaper with different cushioning, and so this project cost me $50 plus $6 for the stool, after reupholstering cost, which still isn't terrible considering a new glider and stool would cost around $200
Bottom left:
The dresser/change table: This is by far my favourite nursery transformation. I purchased the dresser for $40 at Value Village, more than I would normally pay for a furniture item, but I saw great potential in it and I knew it wouldn't be a toss out item after the baby grows. It used to be bright white with a honey stained top and ( I don't know if you can see it) a decorative strip of wood between the top and middle drawers also stained in a golden honey colour. While purchasing this item, another customer also interested in the item suggested that I should leave the honey coloured as is, and then paint the rest black with an antiquing /whitish crackle...Of course I smiled and said that I would consider it, but seriously... that would look terrible, it's a good thing I purchased the item and not him, I just saved it from time travel to 1995!
I ended up painting the entire thing to an antique white and got rid of that horrid honey colour, and then added some grey stripes and a touch of colour to the knobs. I wouldn't have done it this way if it wasn't going in a nursery, But personally I think this is more nursery appropriate than honey and black.
Bottom right:
The basket on top of the dresser, which holds my diapering stash, is a diaper basket that has been passed down and used by multiple generations in my family.
As for the diapers: ( I think I already covered a lot of this in a previous post, but here is a quick summary)
The average cost (according to this blog)to start up is about $450. (not including laundry costs).
How I did it:
7 flip style covers: (some were on sale) $80
2 king sized 100% cotton bed sheets from my local thrift store cut up and sewn into 44 inserts -$10
5 6-pack stay dry liners, I sewed mine directly onto the inserts $30
total: $120
add on the costs for my home made newborn diaper covers (I made 7): ~ $50
new total $170
I know it probably doesn't compare to Little Prince Georges new room, but I absolutely LOVE my nursery. I think that if I had bought the big pieces brand new, it wouldn't feel the same, and wouldn't match anything in my house or my lifestyle. If I could change anything about it, I would paint the glider and the crib both antique white to match the dresser, but I simply don't feel like it, not at 9 months pregnant.
Edit/addition:
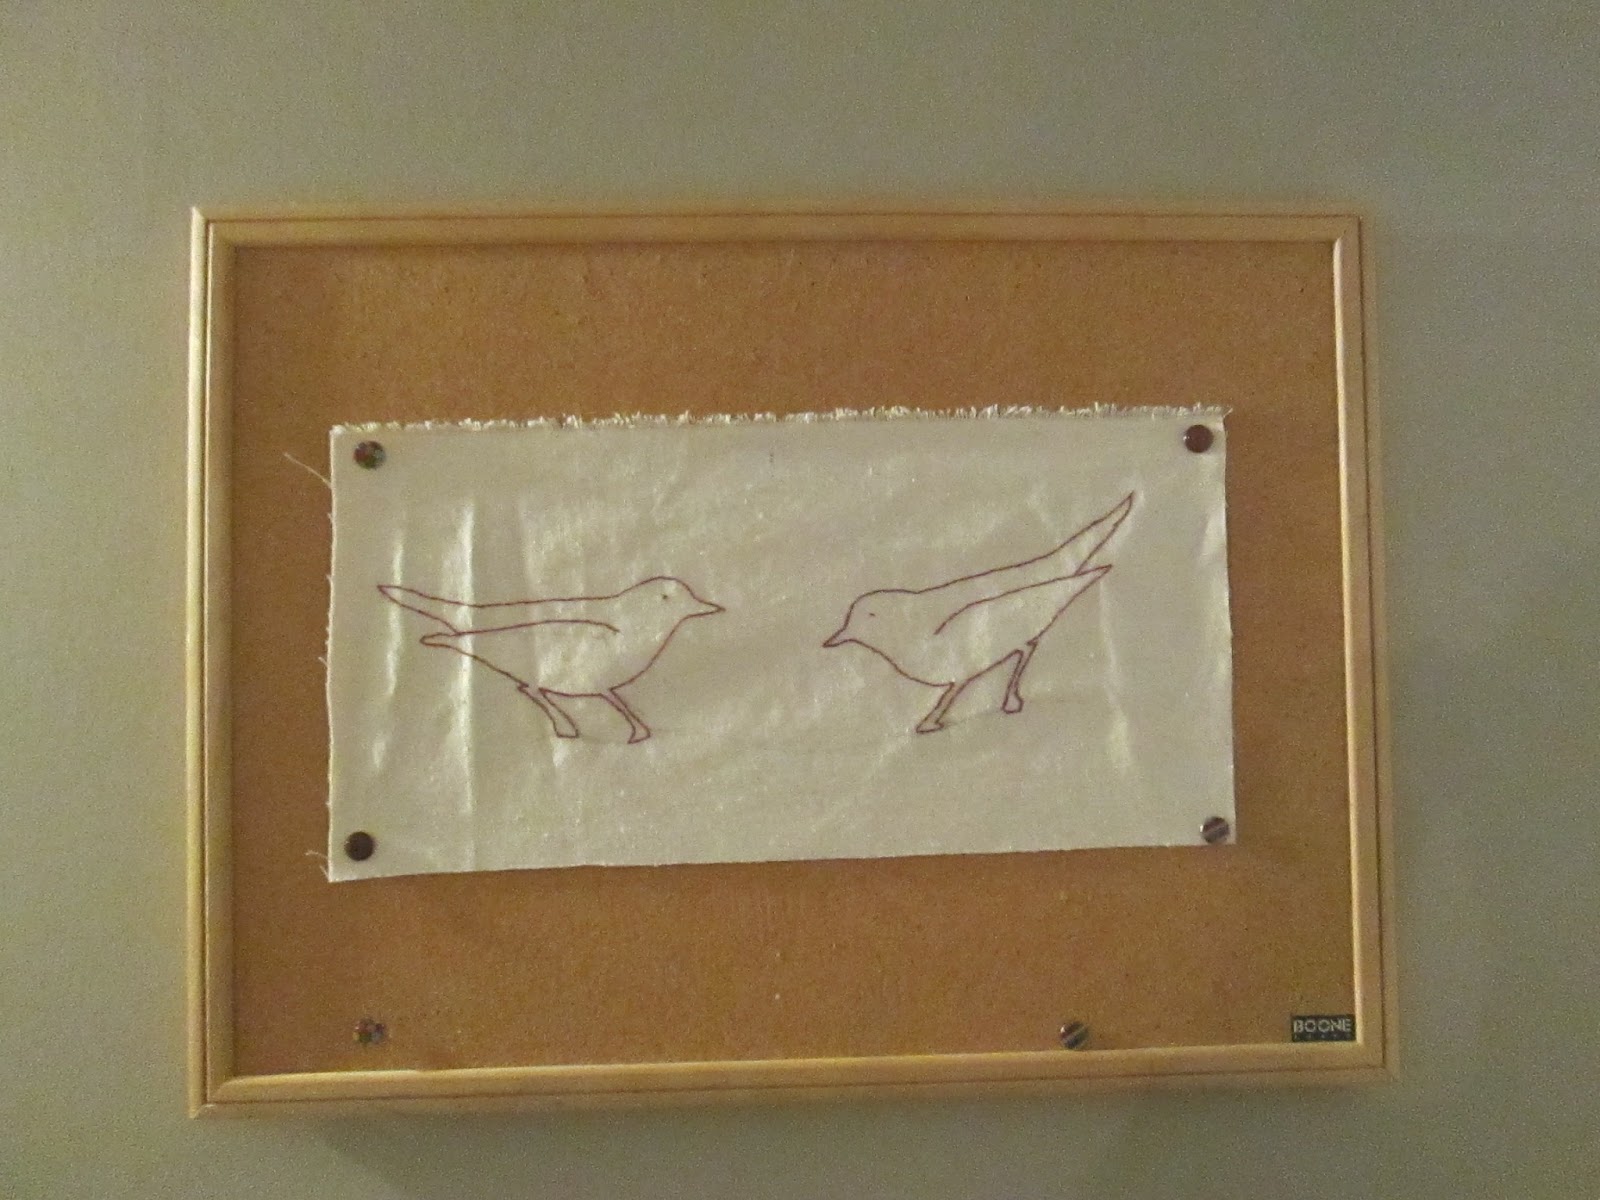
I got around to making the mobiles! Hoorah! I used a cardboard loop for one, and an embroidery hoop for the other, some ribbon I had laying around, scrap fabric and buttons. I hung one mobile over the crib and the other over the change table.