Showing posts with label craft. Show all posts

Thursday, June 6, 2013

Rockabye baby

This week has been an rather uncomfortable week. Physically that is. I am now just over 30 weeks, and some basic tasks have become rather challenging. For instance, my husband and I were parked in the grocery store parking lot, and before I got out of the car, I realized that my shoe was untied. ( I'm sure you know where this is going) without thinking I leaned forward to tie it up, only to realize that I no longer have the ability to lean forward or tie my shoes while they are on my feet. As Fritz finished tying my laces for me, I motioned to get out of the car ( a challenge on it's own) and I noticed a van full of middle-older aged ladies having a giggle at my situation. This being my first pregnancy, I am learning that many things will be challenging, such a breathing, walking and NOT peeing at the same time. 

This week as a nesting project, I did a small 30 minute project to fancy up my bassinet. I have an old wooden rocking bassinet, a road-side find, that required a bit of tlc. Not so much in terms of sanding, painting or repairs of any kind, in fact it's in perfect condition. It just looked really bare and cold. 
All it really needed, was some fabric and lace for a bumper pad and some bows. I kept it simple, because in reality Hansie will only sleep in it for perhaps 3 months until he moves to his crib in his nursery. 
No I have not yet blogged about the nursery, that will come soon enough though once everything is set up. It's almost done, but I just don't want you to see an unfinished project. There are several  projects in and of themselves in the nursery which I could have blogged about, but I really want to just share the entire room as one thing. 
Back to the bassinet. All I did was cut a strip of quilt insulation, over which I made a sleeve of brown plaid, over which I sewed a sleeve of lace. I sewed some lace ribbon to the ends to tie them together and some at the centres of the long sides to secure it to the bassinet. I weaved the finished product through the corners of the bassinet an then added some large lace bows to the ends of the bassinet and voila! the little rocking crib looks less bare. A simple fix to a naked bassinet. 

Sunday, May 26, 2013

$10. Enough Said.


Our new basement is our recreational area. It's where we watch TV  play games, do our office work, and a pub/cafe corner for when we have friends over. It's basically our lounging room. But most important, it's where I do my crafting/sewing. the old basement had a very dungeony craft corner/work bench. Really it had a dungeony everything. Being an avid Pinterest-er, I have seen a plethora of fancy crafting stations, and I wanted one of my own, where all  my things were at hand rather than spread out in different areas of the house, or packed in cardboard boxes. I didn't want to have to take out and put away my sewing machine after every use. With no luck of finding anything I really liked on Kijiji  or elsewhere (at an reasonable price), I put a craft table on my "honey-do" list. 

Side story (sort of...since it's still in relation to the current topic):  
We jokingly wanted to call our pub "the drunken counselor" so I decided that  my crafting corner should be called "The Hookery-Nook".

This past Saturday, the plan was to go to the baby expo in London after my husbands kettle-bell class,(but I don't think going there would have been of much use to me, other than being bombarded with samples I could probably not make any use of...though I'm sure it would have been fun) and then since we decided that we really need to get on this whole "finish a bunch of projects" thing that we have been trying to complete for weeks, we decided that we should go to Home Depot, pick up some lumber and start building this craft table so that I can organize all my crafting crap. 
Instead, my husband woke me up around 8:30 am that morning, and said the sweetest thing: " I'm not going to Kettle-Bell, let's go garage sale-ing instead." Music to my ears! So we went garage sale-ing.

Lo and behold, I found this beauty, an old bureau, which requires no extra work. No sanding, no painting, no gluing. I might change the knobs at some point. 


The hefty price tag that came with it? $10. (I would have been willing to pay $30 for it at least and wouldn't be surprised if someone else sold this item for even more than that!)) I added a little lace curtain underneath to conceal the sewing machine and notions box. The sewing machine I can just lift onto the table, no need to unplug it. I never have to cram it back into it's box and stuff it in a room. It's there and ready to use.  Look at all the drawers! 5 small drawers on top,  3 larger ones at the bottom. 

I hung up a coat hook, a thrift find from a while ago, and attached some small mason jars which hold some sewing/crafting notions such as glue gun sticks, sharpies, and thread spools. 


I placed my giant button jar in one corner and my pin cushion jar in the other along with a fantastic book I got from a friend.


Atop a sheep skin rug that's been in the family for a couple decades, sits a thrifted stool, which once  was a bar stool, but I cut the legs off to make it the right height for crafting. 


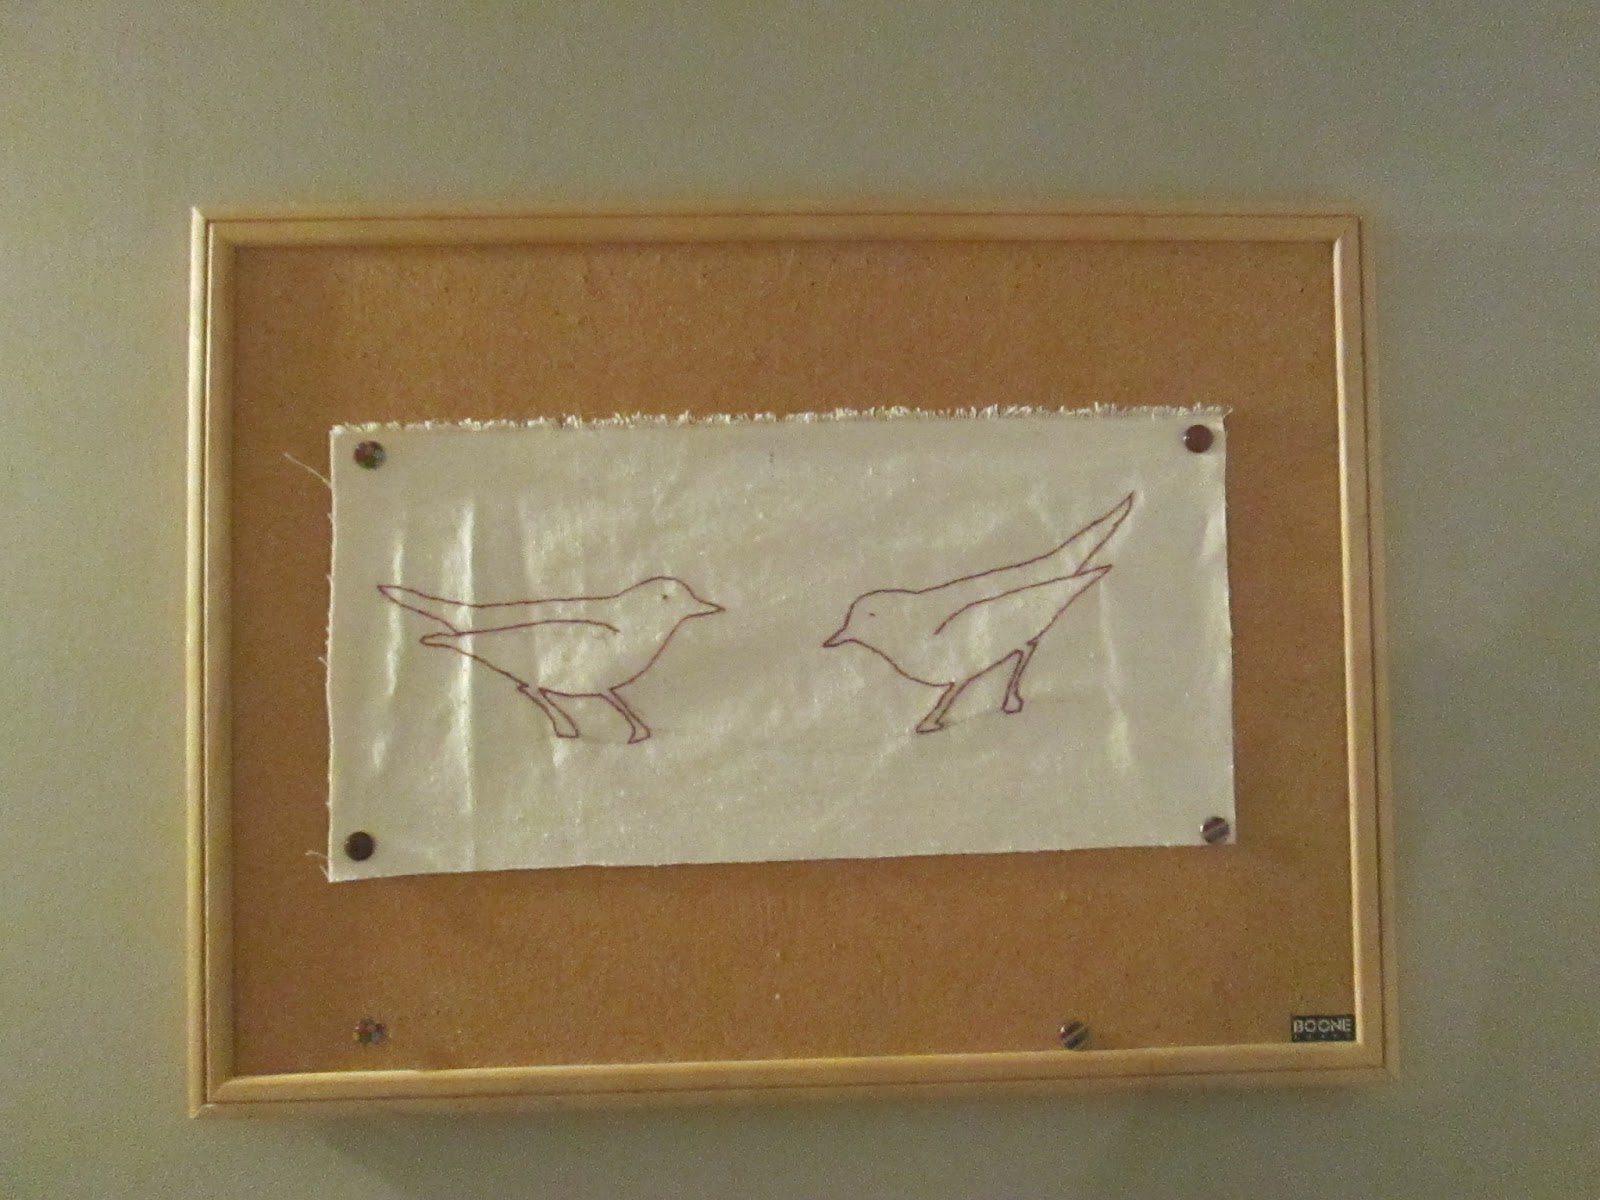
Lastly I hung a cork board with a hand stitched bird picture, onto which I can pin ideas, an drafts and what have you. 


Had I gone to the expo, or had my husband gone to his usual Saturday morning kettle-bell class, or had we gone to Ikea the night before to look for a desk as planned, I would never have stumbled upon this cheap beauty. another good deal? I think so. The Hookery-Nook is complete!

Tuesday, January 22, 2013

hacking a thrift

In the winter time I have a lot less energy and very little motivation. I'm sure many of you are the same. I think this is because the cold weather makes my blood freeze and thus causes me to just want to crawl under a duvet to keep warm. Today the temperature was -27 C. 
The cold weather also affects my desire to do craft work because I like doing my work outside, where I can be messy and in the warm sunshine. My brain is always ready to work on DIY projects, but my ice cold body says "naaah maybe when it warms up." However this week, I felt slightly motivated to work on a project.
I guess it also doesn't help that what will be my crafting space is currently still under construction, and sitting at the coffee table with my sewing machine is not as handy. 
I found this great piece in Value Village for a mere $8. It's missing two drawers, but when placed properly, who cares right?
Here's what I did: 


1. I did nothing here. I just wanted you to see the before. 

2. Removed the drawers. They actually held Cd's so I peeled those out with a butter knife. 

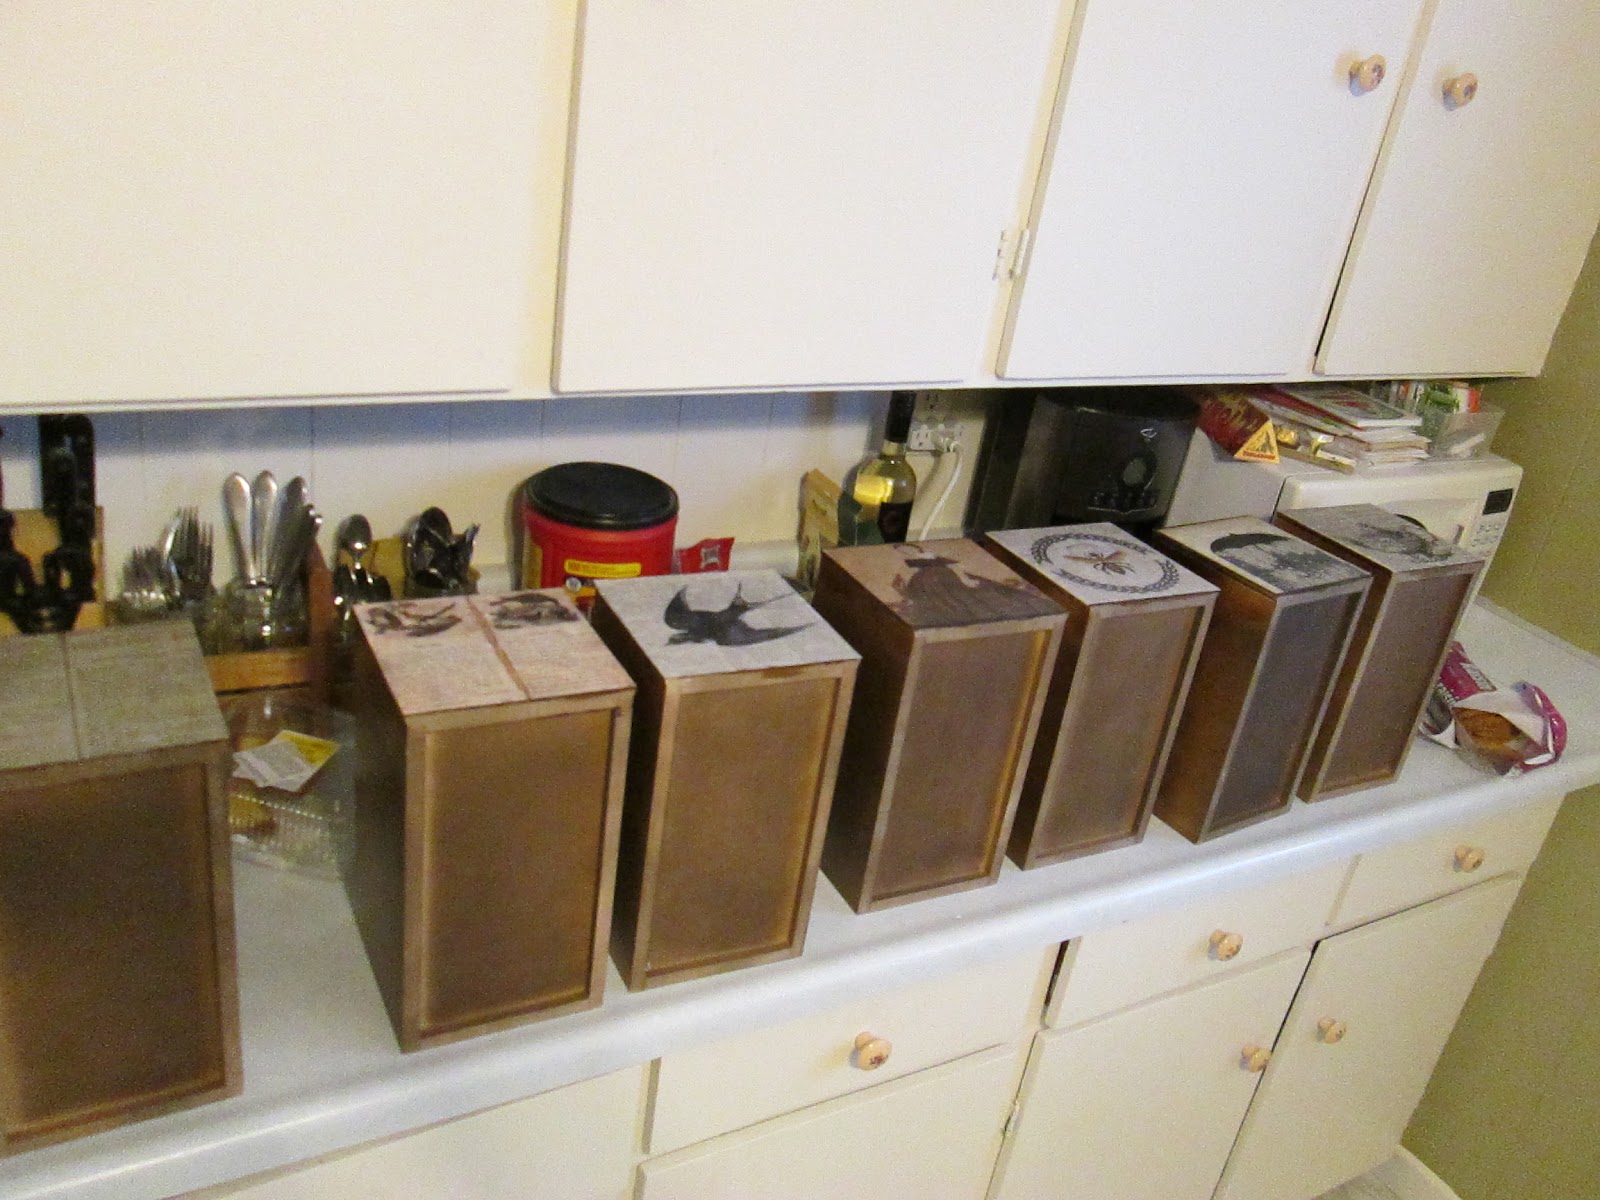
3. I printed out some old looking images that I liked, and cut them to the same size as the front of the drawers.

4. I lined up my drawers on my kitchen counter

5. I made a paper mache mix (flour, water,salt) and coated the drawer fronts with a layer to give a slight texture

6. I paper mached the images with 3 coats of the mix allowing it to dry between coats. 

(Olive helped...not)

7. I placed the drawers back in the the stand and Voila!
I still need to touch up the chipped corners, maybe with a bit of brown paint just to disguise it a bit. I plan on removing the legs and placing just the drawer section on top of my crafting table as I will be using it for my crafting notions.